Transform Your Outdoor Space
The Ultimate Guide to Basement Finishing: From Framing to Final Touches
That neglected concrete box under your house holds incredible potential. Finishing your basement isn’t just about adding square footage; it’s about creating valuable living space—a cozy family room, a productive home office, or an energizing gym—that boosts your home’s functionality and market value. Yet, transforming this often-damp, dim area requires careful planning and execution. Unlike above-ground renovations, basements present unique challenges: moisture control, adequate insulation, and navigating building codes for below-grade spaces. Tackling this project systematically ensures a comfortable, durable, and beautiful result that avoids costly pitfalls like mold or structural issues down the line. Let’s break down the process.
Laying the Groundwork: Planning and Moisture Mitigation
Before swinging a hammer, thorough preparation is non-negotiable. Start by addressing moisture—the arch-nemesis of basements. Inspect walls and floors for cracks, efflorescence (white mineral deposits), or damp spots. Conduct a simple plastic sheet test: tape a 2×2 ft plastic square to the floor and walls for 48 hours. Condensation underneath signals high humidity, while water droplets indicate active seepage. Solutions include:
- Exterior Water Management: Extend downspouts away from the foundation and regrade soil to slope away from the house.
- Interior Solutions: Install interior French drains or sump pumps for chronic water issues. Apply waterproofing sealants to walls.
- Vapor Barriers: Use 6-mil polyethylene sheeting on walls and under flooring to block ground moisture.
Next, sketch your layout. Consider ceiling height (minimum 7 feet typically required), HVAC duct placement, and emergency egress windows if adding bedrooms. Always check local building codes and secure necessary permits—overlooking this can lead to fines or problems during future home sales.
Building the Structure: Smart Framing and Insulation
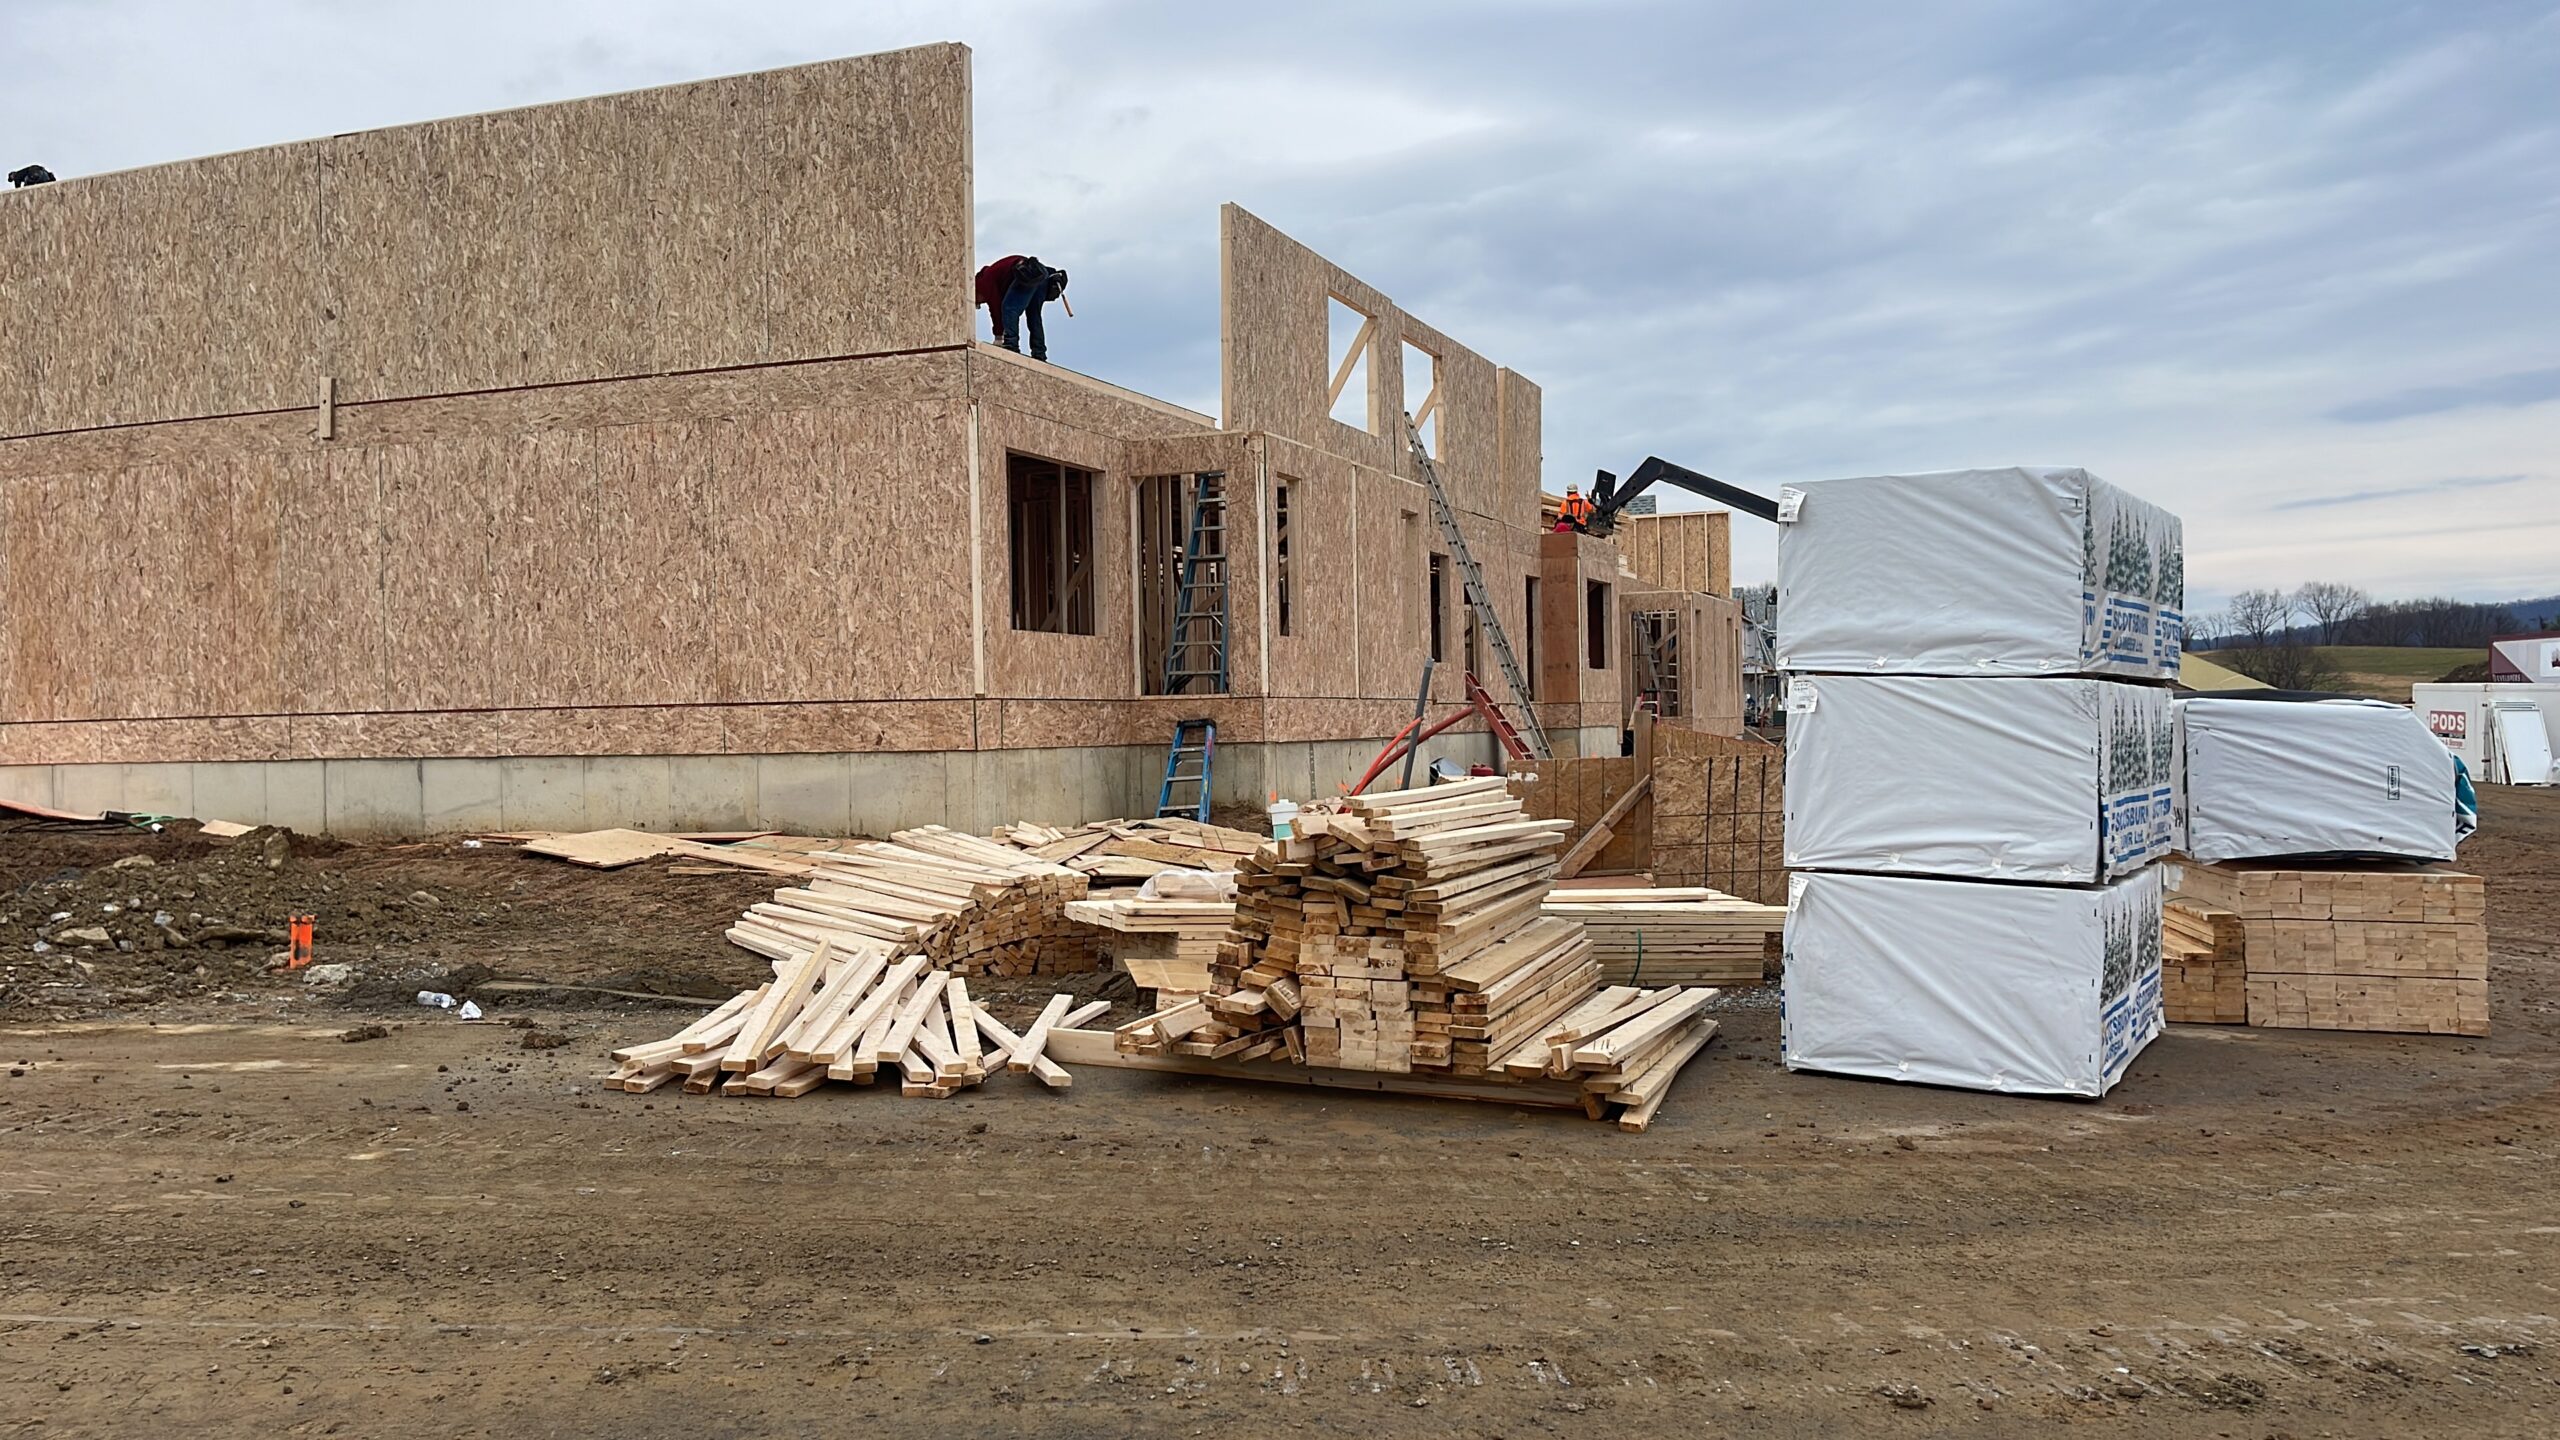
Framing creates your basement’s skeleton. Use pressure-treated lumber for bottom plates in direct contact with concrete to prevent rot. Leave a 1/2-inch gap between framing and foundation walls for air circulation and to accommodate minor shifts. For walls, metal studs resist moisture and won’t warp, but wood is easier for DIYers. Key considerations:
- Furring Strips vs. Full Walls: If space is tight, furring strips attached directly to foundation walls allow for insulation and drywall without sacrificing too much room.
- Insulation is Critical: Use rigid foam board (XPS or EPS) against foundation walls for its high R-value and moisture resistance. Avoid fiberglass batts near concrete—they trap moisture. Seal seams with foam-compatible tape.
- Ceiling Framing: Drop ceilings offer easy access to plumbing/electrical but reduce height. Drywall ceilings look cleaner but require strategic access panels near shutoff valves.
Case in point: A client’s recurring mold issue was solved by replacing fiberglass insulation with closed-cell spray foam, which acts as both insulator and vapor barrier.
Drywall Mastery: Hanging, Taping, and Finishing
Install moisture-resistant drywall (green board or Type X) on all basement walls and ceilings. Hang sheets horizontally for fewer seams and better rigidity. Stagger vertical seams between rows. Use 1-1/4 inch drywall screws, driven slightly below the surface without tearing the paper. The magic happens in finishing:
- Taping: Apply joint compound (mud) over seams, embed paper tape, and smooth. Use mesh tape only for minor cracks.
- Coating: Apply 3 thin mud coats over tape, feathering edges 10-12 inches wide. Sand lightly between coats.
- Corner Beads: Install metal or vinyl beads on external corners for crisp, durable edges.
Pro Tip: Use a dehumidifier during drying to prevent bubbles or cracks. A well-taped seam should be invisible—hold a light parallel to the wall to spot imperfections before priming.
Painting for Longevity and Atmosphere
Basement paint must combat humidity while setting the mood. Start with a stain-blocking primer, especially over new drywall or patched areas. Choose paints wisely:
- Walls/Ceilings: Opt for mildew-resistant acrylic latex paint in satin or eggshell sheens. These are durable, washable, and handle moisture better than flat finishes.
- Color Strategy: Light colors (soft grays, warm whites) reflect light in windowless spaces. Use accent walls in deeper tones (navy, emerald) for dimension without overwhelming.
- Application: Cut in edges with an angled brush, then roll walls in 3×3 ft sections using a 3/8-inch nap roller. Maintain a wet edge to prevent lap marks.
For concrete floors, use epoxy or specialty concrete paints after thorough cleaning and etching. They resist scuffs and moisture penetration far better than standard paint.
Final Flourishes: Flooring, Trim, and Functionality
Choose flooring that handles temperature swings and potential dampness. Luxury Vinyl Plank (LVP) is a top choice—waterproof, warm underfoot, and easy to install. Engineered wood or tile are also suitable. Avoid solid hardwood, which can warp. Install trim last:
- Baseboards: Use PVC or composite trim, which won’t swell with moisture. Leave a 1/2-inch gap above flooring for expansion.
- Crown Molding: Adds polish but requires precise coping cuts. Pre-finished polystyrene options simplify installation.
- Functional Upgrades: Install dimmable LED lighting for ambiance control. Add built-in shelving in unused alcoves for storage. Ensure HVAC vents direct airflow efficiently.
Remember: Caulk all trim-to-wall joints with paintable silicone for a seamless look and to block drafts.
Conclusion: Your Dream Basement Awaits
Finishing your basement transforms underutilized space into a vibrant, functional extension of your home. By methodically tackling moisture, framing a resilient structure, perfecting drywall finishes, selecting durable paints, and choosing appropriate flooring and trim, you create a room that’s both beautiful and built to last. Remember, success lies in preparation—never skip moisture tests or permits. If you’re a DIYer, start small: frame one wall or practice drywall taping in a closet before committing to the whole space. For complex electrical or plumbing, consult professionals. The investment in time and resources pays dividends in daily enjoyment and increased property value. Now, grab your level—your perfect basement is just a few thoughtful steps away.

